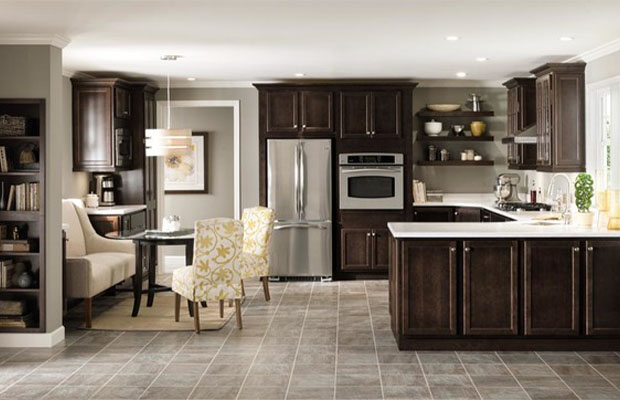
Renovating a kitchen can be expensive and time-consuming. If you’re renovating on a budget, one of the quickest ways to remodel a space is to paint the kitchen cabinets. While it does take a little time and effort, the kitchen can be refreshed on the weekends. However, many of us don’t like sanding parts but wish we invested the investment and time to repaint our kitchen cabinets, no worries, you can learn how to paint kitchen cabinets without sanding! See how to decorate a kitchen with just paint. There are a few more tricks.
Table of Contents
Can You Paint Over Kitchen Cabinets Without Sanding?
If you are changing from one freshly painted surface to another or painting unsanded wood kitchen cabinets, it is okay to skip the sanding step.
If your kitchen cabinets are damaged, the paint is peeling, or the finish is shiny, either the material or the glossy finish, you may need to sand lightly to help the new paint bond better. But if the door feels smooth (not smooth), you can skip the sanding step, as long as you do some prep first!
If you don’t want to sand before priming, use some mineral oil and a rough sponge to clean the area of the kitchen cabinets you’re painting. This won’t open up the crate material like sanding but will provide an extra tacky area for the primer.
Materials Needed for Paint Over Kitchen Cabinets Without Sanding
You don’t have to always use sand, but you should make sure your cabinet surfaces are very clean. You don’t want to go through all the hassle of painting and it will peel off after a few months!
- Clean all surfaces with a good quality grease-cutting soap such as dish soap and water. You can also use a vinegar and water mixture in a spray bottle. Or top with plain vinegar for about 5 minutes to soften any hardened grease.
- Find a mild scrubber. Need to adjust the angle of the kitchen cabinets a little? You can use a microfiber sponge or a product like the Mr.Clean Magic Eraser for those pesky grease splatters and dry pasta sauce.
- Choose the right brush for the job. To prime and paint the kitchencabinets we need a 2½” corner brush and a small 4-6″ roller.
Steps for Painting Kitchen Cabinets Without Sanding
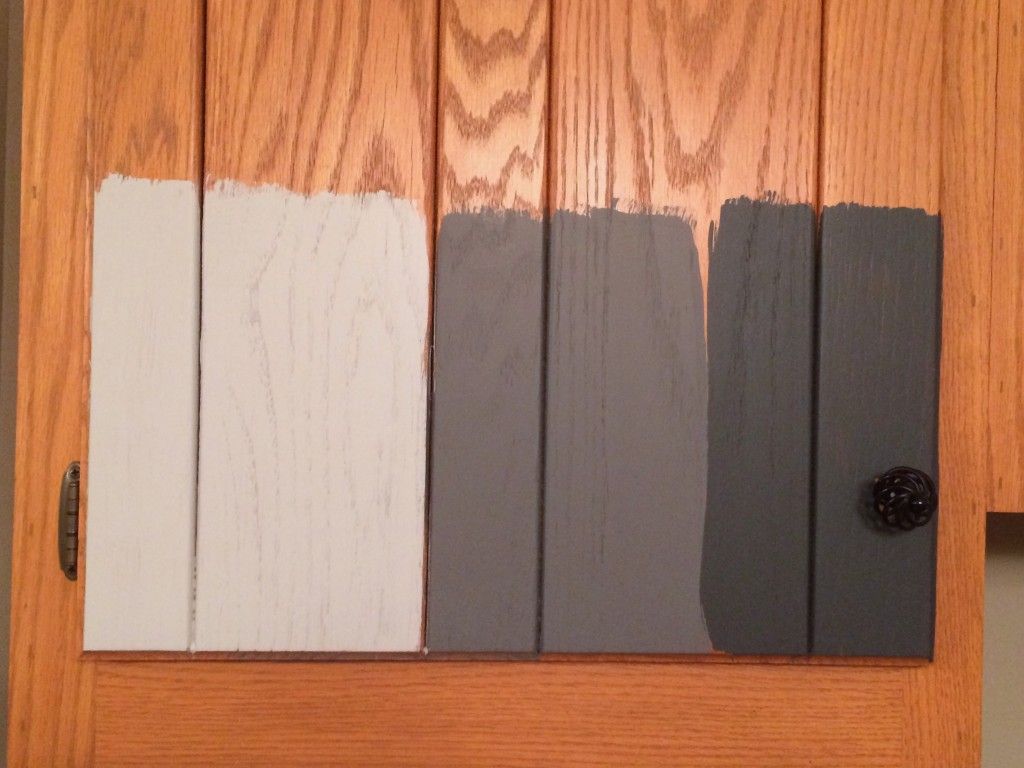
Picking KitchenCabinet Paint
There are many durable cabinet paints on the market that don’t require sanding to stick together. All work on furniture and kitchen cabinets without needing to sand an inch.
Enamel dries to a hard, glossy finish and is very durable.
Latex paint is suitable for general painting projects but is not as durable as enamel paint.
Prep Your Kitchen Cabinets
Not sanding saves time and effort; however, for best results, unless you’re dealing with unfinished kitchen cabinets, you should clean your cabinets before painting.
To prep your kitchen cabinets and clean them thoroughly, wipe gently with a commercial cleaner and a damp cloth to remove any grime and grime. Wait about an hour before continuing to make sure the cabinet and door are dry.
Remove Cabinet Door
Remove the cabinet door with a screwdriver, draw the front, and place it on the drape. Remove all hardware and screw it into a resealable bag. You don’t want handles missing after your kitchen cabinets are refurbished.
Use A Liquid Sander Or Liquid Deaerator
If you have a glossy polyurethane coating on your kitchen cabinets, you might think you have to sand them for hours on end. The good news is that you don’t have to; a liquid sander or liquid deaerator can do the trick. At a hardware store, degasifiers can be found for about $7 to $50.
Remember, this method will only work with well-shaped kitchen cabinets. If the surface has chips or flaking, you will need to use sandpaper.
To use a liquid sander:
- Wear goggles, an N95 mask, and gloves to stay safe.
- Open some windows for ventilation.
- Follow the instructions on the liquid sander or liquid deaerator you are using. Dip the scrubbing pad in the liquid sander and gently scrub the kitchen cabinets in the direction of the grain.
- Wipe off any liquid sander with a damp cloth.
- Wipe down the kitchen cabinets again with a clean rag.
- Allow the kitchen cabinets to dry for at least an hour before continuing.
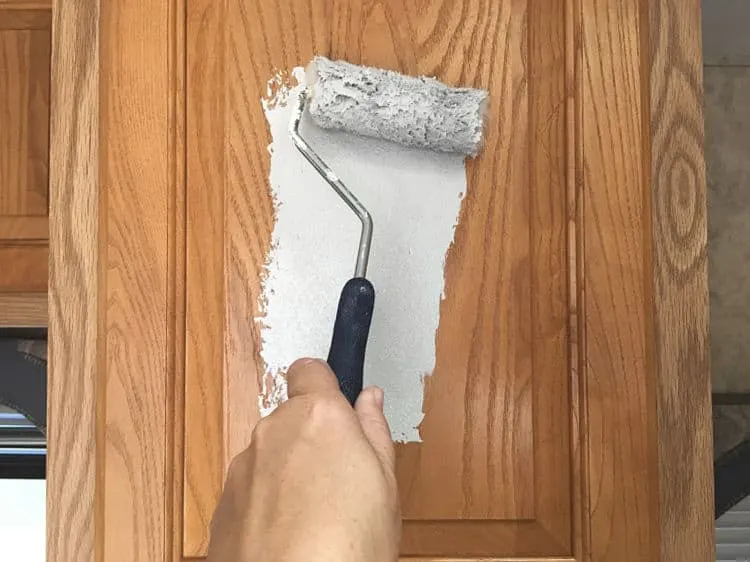
Apply Adhesive Primer
After the cabinet is dry, apply an adhesive primer. If the wood in the crate is particularly knotty, the knots may bleed. Giving them an extra coat of adhesive primer will keep the wood color from bleeding into the paint job.
Tape Down Surfaces
Paint over the bond coat in the grain direction. Be careful to avoid dripping and smooth it out before setting.
Allow the bond coat to dry for at least two hours.
Paint over the second bond coat and wait another two hours for it to dry.
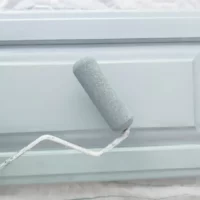
Paint Kitchen Cabinets
Once the adhesive primer is dry, you can start painting the kitchen cabinets using a clean paintbrush and pallet. Drying times may vary depending on your home’s climate. For example, your cabinets will dry longer on hot, humid days than on cool, dry, low-humidity days. Paint up and down with smooth strokes to avoid lines in the cabinets.
Once the paint is dry, apply a top coat if desired. While not necessary, applying a top coat will help prevent chips and dents and extend the life of the paint. If you prefer to hire a professional to do the project rather than do it yourself, a local cabinet painter can do the job for you.
Replace Cabinet Doors and Hardware
After the finish dries, screw the cabinet doors and drawer fronts back into place and replace the hardware. This step is much easier for two people, so one can hold the door up while the other can screw it into place.
You May Also Like: How Many Coats Of Primer On Cabinets?
Conclusion
Paint kitchen cabinets without sanding and give you unexpected results as long as you follow a few tips and tricks.