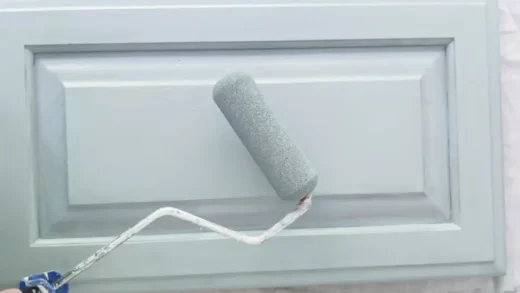
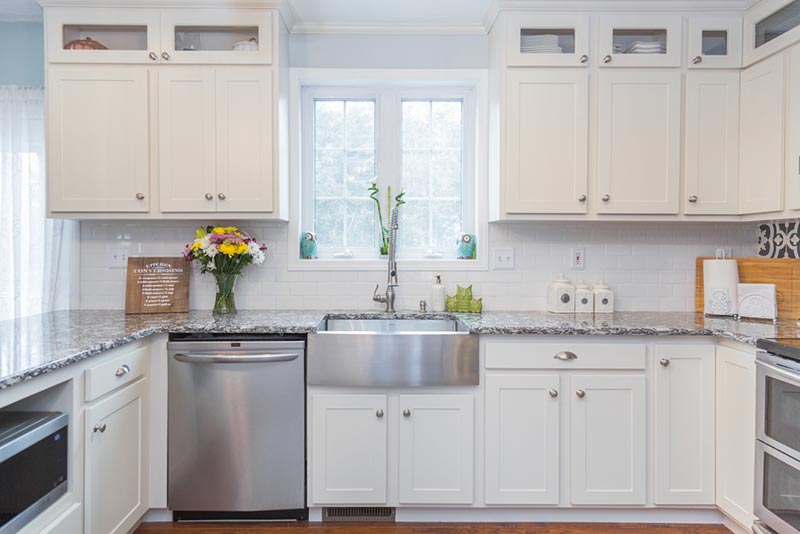
Improve the kitchen cabinets’ existing under-cabinet lighting. How to install under cabinet lighting? This innovative approach to wiring under-cabinet lighting reduces the challenging task of retrieving cables from your attic or basement and prevents disruptive wall tear-out.
Read More: Best Under Cabinet Lighting
Table of Contents
Materials Necessary
- Spade bit 1-1/8″
- 0.5-inch metal flex cable 14/2 cable with a plastic sheath
- Spade bit, 1/2″ Cable clamps
- Renovation switch box with fish tape flex connectors and under-cabinet lights
- Cable nuts
Tools Necessary
- Portable drill
- Hacksaw
- Voltage tester without contact
- Jigsaw
- Tester for voltage
- Wire cutter/stripper
How to Install Under Cabinet Lighting?
1. Trace outline of new electrical box
- At the main electrical panel, turn off the power to the kitchen. Plug the radio into the countertop wall outlet you’ll be using for electricity, and make sure the radio is on silently to ensure the power is off. You could also use a lamp, but make sure it isn’t lit.
- To remove the receptacle from the electrical box, unscrew the wall plate, then unplug the wires from it.
- On one side or the other, the box is nailed to a wall stud. Look between the box’s sides and the drywall to see which one it is.
- Hold a two-gang, old-work electrical box over the existing box in the wall so that the expansion of the hole is on the unattached side of the existing box—away from the stud—and then trace around it with a pencil.
2. Discard an outdated electrical box
Make sure the cable entering the electrical box is loose after widening the hole, then pull it out with a flat pry bar.
3. Stretch a fresh cable
- Find the prescored knockout hole in the rear while holding the light fixture in place.
- Make a mark on the wall directly behind this “knockout” plug. To determine whether there is a wall stud between the mark and the electrical box hole, use a stud finder. If so, switch your mark to the opposite stud side.
- Drill through the wall right below the upper wall cabinet using a 12-inch spade bit.
- Cut a 12-inch length of 12/2 NM (nonmetallic) electrical cable, plus an additional 24 inches, to extend from the 1-inch hole to the 2-gang box hole.
- Insert a cable end into the 1 1/2-inch hole that has been bored in the upper backsplash wall.
- The cable end should then be gently pulled through the kitchen into the hole where the electrical box will be put.
4. Attach the light source
- To create space for working, take off the lamp’s cover and the metal socket strip that holds the bulbs.
- Holding the fixture against the cabinet’s underside, move it forward until it is concealed by the front edge of the cabinet.
- Make use of the supplied screws to attach it to the cabinet.
- To remove the circular knockout plug from the back of the light fixture, use a slotted screwdriver.
- Insert a cable end into the 1 1/2-inch hole that has been bored in the upper backsplash wall.
- The cable end should then be gently pulled through the kitchen into the hole where the electrical box will be put.
5. Install cable connector
- To secure the cable and shield it from the sharp edges of the fixture, insert a cable connector into the knockout hole.
- From the cable’s end, remove 6 inches of the outer plastic sheathing.
- Pass the cable through the connector.
- To keep the cable in place, tighten the connector screws. To avoid damaging the individual wires, make sure the connector is clamped down only on the cable’s plastic sheathing.
6. Install the new electrical box
- Hold the new two-gang electrical box close to the backsplash wall’s hole that you drilled.
- Into the two-gang box, insert the end of the existing cable—the one that was fastened to the outlet.
- Next, insert the box while pulling the cable’s end from the light fixture. After that, insert the box into the opening and firmly press it against the wall.
- In each diagonal corner of the box, there are two screws to be seen. The plastic fins on the box will flip up behind the drywall as you start to tighten the screws.
- Once the fins start to pull tightly against the back of the drywall and lock the box in place, continue to tighten the screws.
7. Install a GFCI outlet
- Use a green pigtail connector to connect the bare copper grounding wires from the old and new cables.
- Cut two 8-inch-long pieces of the white wire that were detached from the remaining cable. Remove ½ inch of insulation from the ends of each wire, then use a wire connector to connect them to the two white wires in the box.
- Attach the other end of a white wire measuring 8 inches long to the “white-wire line”-designated silver GFCI screw terminal.”
- Trim two black wires to 8 inches in length, remove ½ inch of insulation, and connect them to the black wire coming from the existing (receptacle) cable.
- Attach one of these wires’ free ends to the “hot-wire line” GFCI terminal.
- Leave at least 4 inches of wire protruding beyond the green grounding screw on the GFCI as you wrap the pigtail around it.
- Remove the plastic sheathing from the remaining cable you purchased, separate the white wire, and cut two 8-inch-long pieces. Wire strippers should be used to remove 1/2 inch of insulation from the ends of each wire before using a wire connector to connect them to the two white wires in the box.
8. Install the brand-new dimmer switch
Utilizing a wire connector, join the 8-inch black wire’s loose end to the black wire on the dimmer switch.
Connect the black wire coming from the freshly fitted light fixture to the yellow wire of the dimmer.
Utilizing a wire connector, join the green grounding wire of the dimmer to the bare copper ground wire coming from the GFCI.
Using a wire connector, join the last white wire to the white wire of the dimmer.
After carefully tucking any extra wires within the box, fasten the GFCI and dimmer switch with the supplied screws.
9. Complete the wall plate and fixture
Put the socket strip back in the fixture first, but don’t put the bulbs in just yet.
A white, a black, and a green wire are located inside each fixture. Using wire connectors, attach them to the cables’ corresponding wires of the same color: black to black, white to white, and bare copper to green.
After the wiring is finished, add the bulbs to the socket strip and put the fixture’s cover on.
The two-gang wall plate should then be screwed in.
Restart the power and check your work.
Various Light Bulbs
Fluorescent, quartz-halogen, and xenon are the three main types of bulbs used under cabinet illumination.
Fluorescents might hum, flicker, and emit a yellowish light, but they also burn more efficiently and consume less electricity. Use a cool-white bulb and a fluorescent fixture with a high-quality electronic ballast for quick starts and silent running. Regular line voltage is used to power fluorescent lighting (120 volts).
Although halogen and xenon bulbs are more expensive to buy and operate, they produce exceptionally bright white light. Although xenon burns cooler and lasts longer, halogen produces the brightest light. Low voltage Xenon lighting uses a transformer to reduce the voltage from 120 to 12 or 20 volts. Halogen lighting is available in both forms. Look for a fixture with a built-in transformer if you want low voltage.
How to Choose The Right Under Cabinet Light Fixture
- Measure your cabinets’ entire width and the distance between the countertop and the bottom of the cabinet. Determine the depth of the recessed space beneath the cabinets as well. Under cabinet lighting generally needs to be at least 2 inches narrower than your cabinets’ width and a fraction shallower than the recessed region of the cabinet bottom.
- Bathroom lighting that has a dampness rating can withstand heavy humidity. Use dry-rated fixtures in the kitchen, with the exception of locations where the lights might come into contact with water, such as directly above the sink.
- Finish: A variety of colors are available under cabinet lights. The most popular choices are silver, white, nickel, bronze, and black.
- Type of lighting: LEDs are widely used in fixtures. They consume less energy and don’t need to be replaced for thousands of hours. LEDs can generate warm white or soft white lighting, depending on the design. Another choice that outlasts incandescent lights and provides more energy efficiency is fluorescent lighting.
- Some LED under cabinet lighting has dimming capabilities. This enables you to change the brightness of the light using a dimmer switch.
Read More: Cabinet Lighting Ideas