It can be frustrating to find the perfect new piece for your living space, only to find that the color isn’t perfect. Fortunately, there is an easy solution: just draw it. If you’re buying a desk or a bed frame from IKEA, it’s likely made of this. With a little preparation and the right paint, you can change the look of your IKEA particleboard furniture to any color you want. The question is: How to paint IKEA cabinets?
Table of Contents
Why Repaint IKEA Cabinets
IKEA cabinets don’t sell doors in any color, and it’s much more expensive to order semi-manufactured doors that can be painted. Their DIY flat front will cost us about $600, while our white flat front from Ikea will cost us $185. We’re no strangers to painting, so it’s worth trying it out, although a laminated finish or a smooth pre-painted finish (what Ikea calls “painting”) can be a little tricky. Thankfully, paint and primer “techniques” are constantly improving, and you can now get a strong bond even without oil-based products.
What Kind of Paint Works Best?
Three types are required to paint IKEA cabinets: primer, topcoat, and sealer. A primer needs to be used specifically for laminate surfaces, such as this one from Zinsser. Applying a primer to the laminate particleboard surface will allow any paint of your choice to adhere to the surface without peeling off quickly.
After you’ve primed with the color of your choice, you’ll apply a final coat of sealer to ensure your new paint job lasts.
How To Paint IKEA Cabinets
Step 1: Prepare the IKEA Cabinets
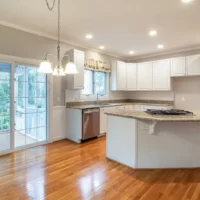
Since we were painting the IKEA cabinets before assembling the kitchen, we simply opened the door and put everything on a drape to get started. However, if you’re painting an existing kitchen, you’ll want to remove all doors and drawer fronts first. You may also want to take the extra step of cleaning them with a liquid degasser to remove any cooking grease or grease that has built up on doors and drawers.
Step 2: Roughen IKEA Cabinets With Sandpaper
Even if you’ve used a deaerator or liquid sandpaper, it’s best to roughen the surface with actual sandpaper to create a better finish for primer and paint adhesion.
The goal is not to completely remove any white finish, as it provides moisture protection to the MDF underneath.
Step 3: Thoroughly remove sanding dust on IKEA Cabinets
You want your primer to stick to the door, not a layer of sand, right? So we checked each door with a damp paper towel and then a piece of pin cloth. The surface of the cloth is slightly sticky, making it easy to grab fine particles before you paint or stain any surface. Be sure to do it in all directions.
Step 4: Prime the Back of IKEA Cabinets
Before we started priming and painting for IKEA Cabinets, we used these paint project lifts to prop up our drape. This is the first time I’ve used them, so I’m a little paranoid that they might scratch or leave marks when I open the door to work on the sides. So to be completely safe I decided to prime the back first before doing anything to the front. This way I don’t have to rest the painted front on the lift. That way, if the lift does leave a tiny mark somewhere, it’s on the back of the drawer that isn’t as important.
Step 5: Paint the Back of IKEA Cabinets
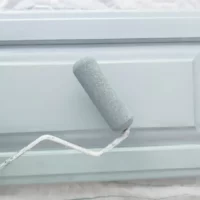
After the primer was fully cured, we used a new roller to apply two thin, even coats of paint. Again, we used Sherwin Williams Emerald Polyurethane Decorative Enamel as recommended by the shop’s paint pro. We chose satin because we like that low gloss look. If you opt for a higher gloss finish, just be aware that roller and brush strokes are easier to see, so you may need to use a paint sprayer.
Our general sequence for painting the back of each door is:
- Paint the entire plane
- Roll gently along all 4 vertical sides to remove any dripping (more on this in the next step)
- Roll gently on the flat surface again, using parallel overlapping strokes in the same direction
Step 6: Repeat! Apply a second coat of paint for IKEA Cabinets
Don’t panic if your first coat looks imperfect like ours below. I always recommend that you apply two coats on any project as it will give you a more consistent look and a stronger/more durable look (two thin, even coats are much better than one thick and smooth). So, once your first coat is completely dry (we let ours dry overnight), apply the second coat.
Step 7: Flip and Repeat Steps 4, 5 and 6
We gave the IKEA cabinets a full 24 hours to dry and harden, then carefully flip everything over to start the process again on the front. I know this seems tedious, but we think it’s best to do it slowly and methodically to get the best results. Keep in mind that we really don’t want any dings from the front paint lifts, we’re worried that might happen if we flip them back and forth throughout the process.
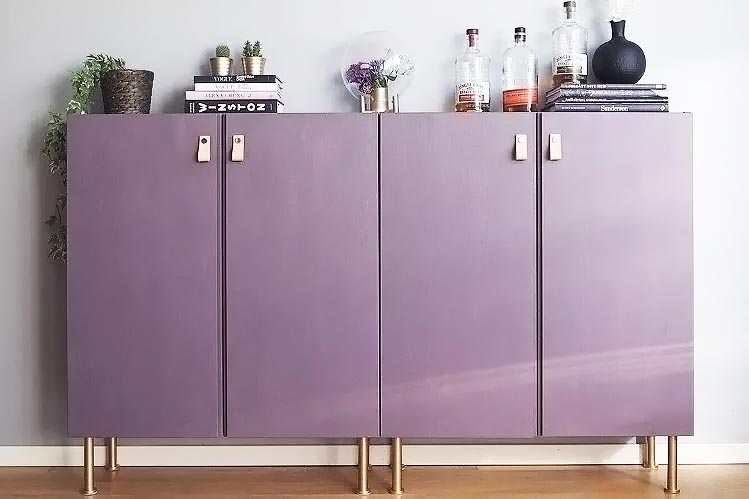
Step 8: Install everything and enjoy!
Don’t skimp on your prep, let everything not only dry but fully cure before you break it down. This is really the key to a good long lasting finish. That means this kitchen took about a week to assemble instead of just a day or two of quick and dirty painting, but in the end, it was worth it.
You May Also Like: How Many Coats Of Primer On Cabinets?
Conclusion
Now that you know how to paint IKEA cabinets, it’s time to do it!