Cabinet drawers are definitely something we use in our daily life and want to learn how to build them? In this post, I will share with you my comprehensive guide on how to make drawers for cabinets and furniture! Before you start building your drawer, you need to determine what type of drawer you are going to build. Basically, you have two options: inset or overlay
Table of Contents
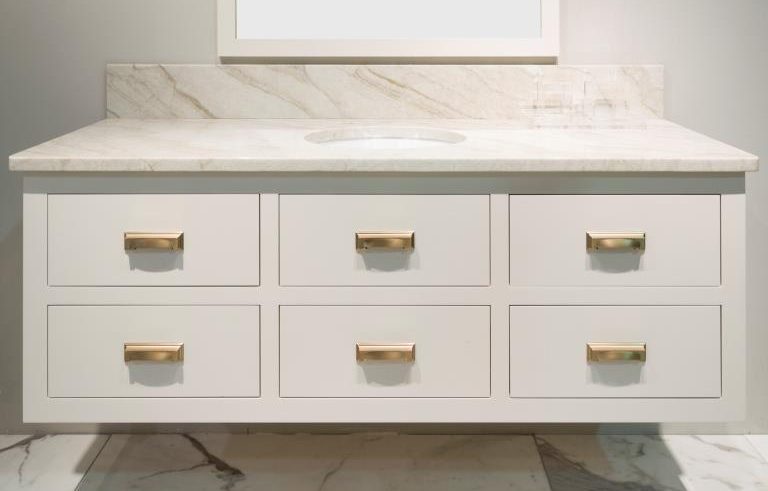
What is An Inset Cabinet Drawer?
An inset cabinet drawer is one that forms a flush surface with the cabinet frame. Cabinets with inset drawers and doors create a more high-end and classic look. They are also more expensive if you are buying your cabinets or having them custom-made because it requires more time and skill to build them.
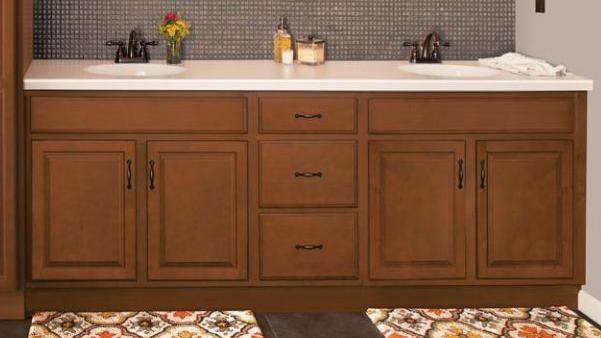
What Is An Overlay Cabinet Drawer?
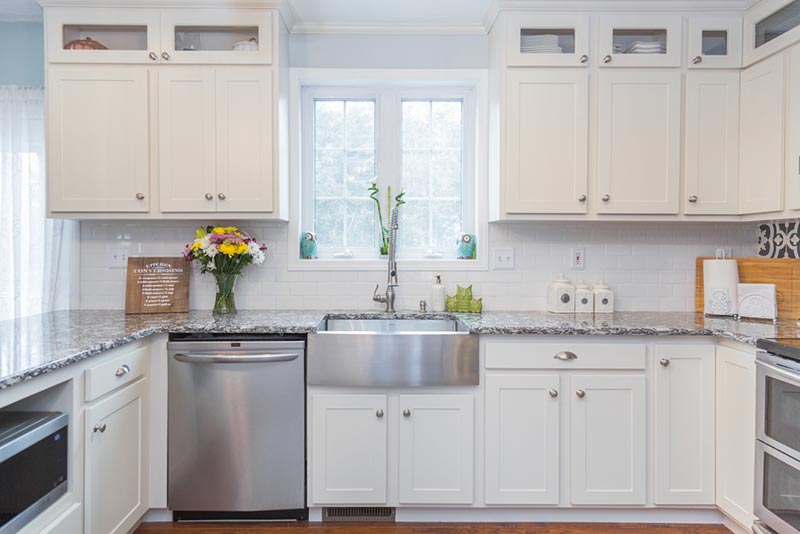
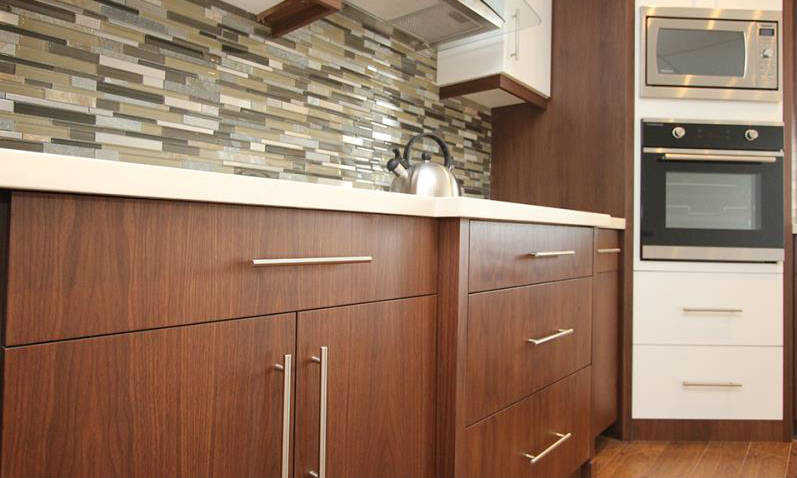
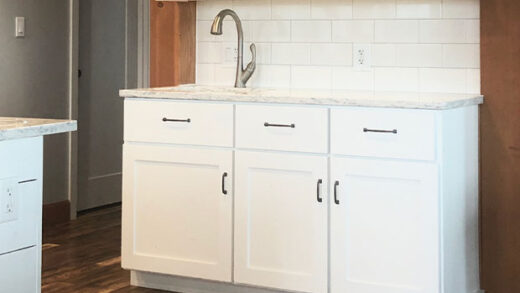
The fronts of the stacked cabinet drawer overlap the frame of the cabinets. The number of overlays can vary, but a full overlay creates minimal gaps between drawers and cabinet doors and creates a better look. Stacked cabinets are more affordable than built-in cabinets because they don’t require the same tedious work to get drawers and doors to fit perfectly into the frame.
What type of cabinet drawer you decide to build only affects how you install it and how you build the front. Apart from the depth, the actual drawer itself will not change if you choose. Laminated drawers will allow 3/4″ depth.
How to Make Cabinet Drawers
Step 1: Determine The Cabinet Drawer Front Height
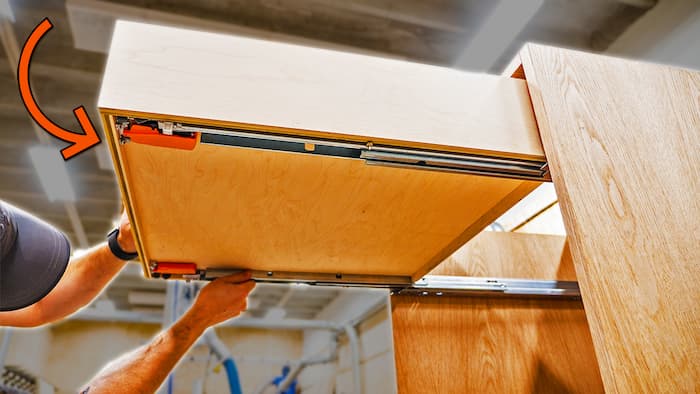
The first step in building a drawer is to work out how big your cabinet drawer needs to be. This will depend on the size of the drawer opening in the cabinet frame and the type of slides you use.
- Width
If you choose to embed the cabinet drawer in this project, that means the drawer needs to go back 3/4″ of the opening so that the drawer front is flush with the frame. To be safe, you should also subtract an inch from the length.
- Length
The width of your cabinet drawer will be determined by the width of your opening and, as mentioned above, the type of rails you use. Use side mount rails that require 1/2″ clearance. It’s pretty standard
- Height
You have more freedom when you decide the height of the cabinet drawer. As long as you’re at least 1 inch less than the opening, you should be doing fine. This will give you plenty of wiggle room.
Step 2: Install the Cabinet Drawer Slides
Now that you’ve determined the dimensions of the cabinet drawer front, you can determine where to install the slides.
Ball-bearing slides come in a variety of sizes, usually in 2″ increments, so 10″, 12″, 14″, etc., usually up to 24″. You can buy the product with or without a soft-closing mechanism. You can choose any size slide you want, as long as it is the same length as the slide you want to mount or shorter than its depth.
If your cabinet drawer fronts will be inserted into cabinets, you also have to take into account how thick this will push your slides back into the drawer fronts. So in this case, if you have a 22″ deep cabinet with a ¾” thick built-in drawer in the front, you can’t use the 22″ rails anymore. You must use slides 20 inches or less.
Step 3: Build the Cabinet Drawer Box
Use ¼” plywood to assemble the drawers on the wainscoting on the sides of the cabinet drawer box. If you don’t want to cut the wainscoting, you can also glue and staple ¼” plywood to the bottom of the drawer box, however, you need to keep in mind that this will Increases the height of the drawer box by ¼”, so you may need to adjust accordingly.
The wainscoting method looks clean and strong, adjust the height of the table saw to ¼” and cut this wainscoting ½” from the bottom of the cabinet drawer box.
You can make multiple passes with a regular blade on a table saw to get ¼” thickness, or a single pass with ¼” wainscoting, or use a router and a ¼” straight drill bit.
Build drawers with ¼” plywood bottoms – slide into place before attaching the sides of the last cabinet drawer box
When assembled, corner clips or square clips can be used to hold parts square. However, the best way to make sure the cabinet drawer is square is to make sure the ¼” plywood bottom is square before putting it in the drawer. It should be a very tight fit and should keep it square if it is square.
Step 4: Install the Cabinet Drawer Box into the Slides
There are many ways to install cabinet drawer boxes, but this one is quick and works well. Starting at the bottom, install the bottom cabinet drawer first. Place ¼” plywood scrap under the drawer box and slightly extend the drawer box and the sliders on the sides.
1. Use ¼” spacers under the first cabinet drawer.
Extend the slide and cabinet drawer box so that the front edge of the slide is flush with the front edge of the drawer box, then place a ⅝” wood screw on each side of the vertical slotted hole.
2. Install the initial screws to secure the cabinet drawer to the cabinet drawer slides.
3. Then, pushing the cabinet drawer down onto the ¼” plywood scrap, I extended the drawer and added another screw on each side so that it goes into a round hole.
4. Install the middle cabinet drawer slide screw into the slide rail.
5. Then, remove the cabinet drawer from the slide and add another screw to the back of the slide. To remove the drawer, unfold it fully and there will be two tabs on each slide. One pushes up, one pushes down. Simultaneously press these tabs and pull the drawer straight out.
6. Press/pull the tab on the cabinet drawer slide to remove it.
7. Then add a screw in the round or slotted hole at the end.
8. Remove the cabinet drawer box from the cabinet to attach the back screws.
9. Then, slide the cabinet drawer back into place and adjust as needed using the screws in the vertical slotted holes. Usually, it doesn’t require any adjustment, but if needed, which is why the screw holes are slotted, just loosen the screw, adjust, and tighten again.
10. Adjust the inclination of the cabinet drawer box on the slide rail
To add the next cabinet drawer use the scrap wood blocks stacked on top of the box below and follow the same steps. Stack the spacer blocks until the bottom of the drawer is higher than the front of the drawer below it – basically, the drawer box only needs to clear the front of the drawer below it.
Step 5: Attach Cabinet Drawer Fronts
There are many ways to center and secure cabinet drawer fronts.
The easiest way to attach the front of the cabinet drawer is to put it on the back and hold the front in place and let gravity hold it where you want it so you can center it.
However, if this is not feasible, the next easiest way is to remove the top of the cabinet drawer so you can access the inside of the cabinet drawer.
Turn the cabinet drawer face up and stare at the slits in the edges, trying to make them as even as possible – it should be ⅛” in all directions.
Final Words
Assembling a cabinet drawer sounds like a very troublesome task, but as long as you calm down and follow our 5 steps, it will become very simple!
You May Also Like:


