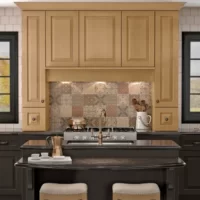
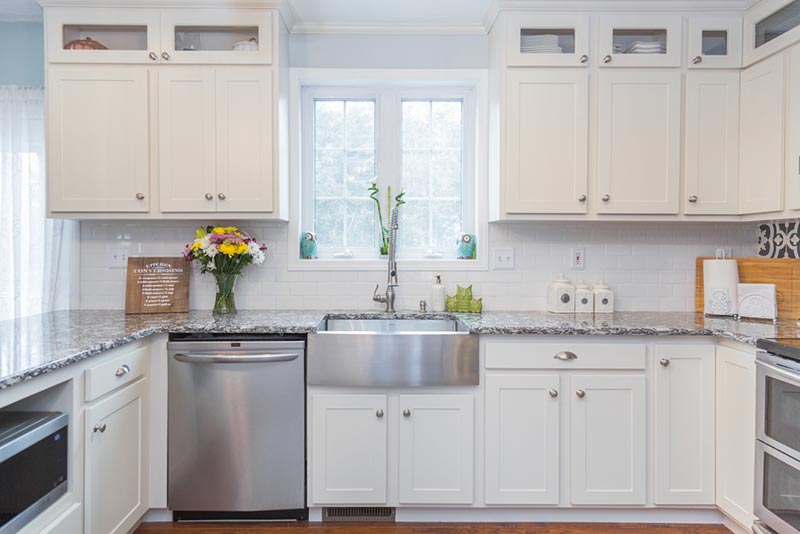
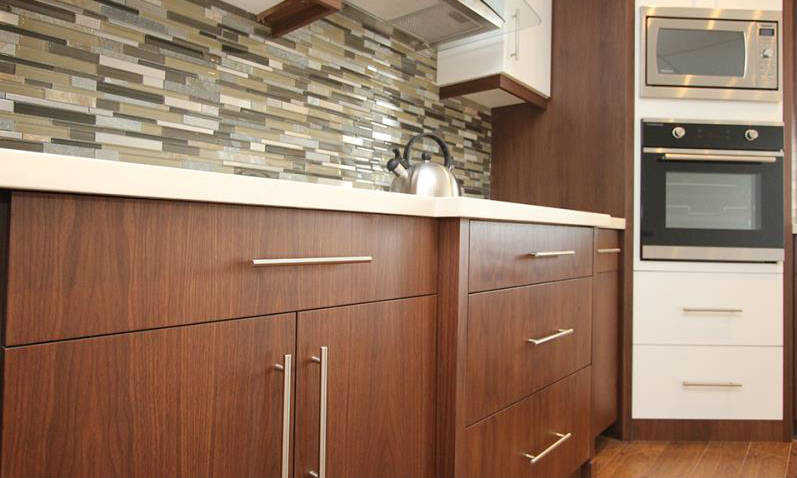
Your kitchen cabinets can require a style upgrade over time. How to install cabinet handles? Even while a fresh coat of paint can go a long way, not all cabinets require it. You might be surprised at the impact of replacing cabinet handles and pulls when updating your hardware. Getting that fresh appearance won’t cost a fortune either.
Learn how to install cabinet handles using this guide. These guidelines are applicable whether you’re installing new hardware on freshly built cabinets or changing out old hardware. They also function for a variety of handle types, pulls, and knobs.
Table of Contents
Right Tools Needed When Install Cabinet Handles
Do you need some expert assistance before you start? For their best advice, we asked the pros at Croft and Plank Hardware(opens in new tab). Be ready with the appropriate tools for your kitchen cabinets first.
You will require:
- a cordless drill and the proper wood drill bit for the supplied fasteners
- a square combination
- Measurement tape
- Spirit level, a pencil screwdriver, and new handles
How to Install Cabinet Handles
1. Discard the previous cabinet handles
You must first remove the outdated cabinet handles before installing the new ones.
Remove the attaching screw for the cabinet pull using a screwdriver (s). These are often located on the cabinet door’s back. The distance between each screw hole and the edge of the cabinet door should be measured. Check to see if the spacing is appropriate so you can utilize them for your new cabinet pulls.
If new screw holes need to be made, fill the old ones with wood filler that matches your cabinet’s finish. The repaired holes may need to be painted over or refinished.
2. Gauge and mark where new handles should go
If the previous screw holes may be used again, position the new fastening screw inside of them and tighten the new handle into place. Measure and note the locations of the new screw holes if you are making new ones.
Cabinet pulls are typically 2 to 3 inches up from the bottom edge of the door if your cabinet doors have stiles, also known as framing. They ought to be centered on the stile’s breadth.
Cabinet pulls are typically 2 to 3 inches up from the bottom edge of slab doors without stiles on your cabinets. The distance between them and the side edge will be the same.
This area has to be measured and marked using a pencil.
This indicated spot will be where you drill the screw hole for installing a knob.
The middle of the handle will be the designated area when installing a handle with two fastening screws. The distance between the two mounting screws on the cabinet handle should be measured.
To find the distance between your center mark and two new marks that represent the top and bottom screw holes, divide that amount in half.
3. Drill Holes
Use a power drill and a 3/16-inch twist bit to make the screw holes because the majority of cabinet screws require this size of the hole. The manufacturer’s instructions for the cabinet pull will also outline the necessary drill bit size. Drill a test hole into a scrap piece of wood to determine the size and whether the attaching screws will fit.
To prevent drilling into the cabinet frame, prop the door open with a cloth or hold it open with one hand while drilling.
At the positions of the marked screw holes, drill through the door.
4. Replace the cabinet handles
Your drilled holes are now complete. The installation of cabinet hardware can now begin. If you’re learning how to install cabinet knobs as well, the procedure is the same. The proper way to install cabinet hardware is as follows:
- The fastening screw(s) should be inserted via the hole’s backside.
- Put the handle or knob on the screw (s).
- With one hand holding the knob or handle, tighten the fastening screw using a screwdriver.
- Avoid overtightening the screw as this may cause your cabinet door to break or get damaged.
It’s not difficult to update the drawers and install cabinet handles. It’s also very satisfying to change the look of your areas with new pulls and knobs. And, best of all, upgrading your gear nowadays doesn’t require you to be an expert in do-it-yourself. You may quickly change the appearance of your cabinets now that you know how to install cabinet handles.
What Position Should We Install Cabinet Handles?
The top corner of a door or the middle of a drawer is often where cabinet handles are located.
When drilling many doors or drawers, make sure they are all marked the same to produce a unified appearance.
FAQs
What depth drawer front can I use the Cabinet Hardware Jig to be centered on?
16″. Instead of in the middle, we advise positioning your cabinet drawer handles near the top of the drawer front. This improves the drawer’s aesthetic appeal and makes it simpler to access.
What door stile and rail minimum can I focus on?
The smallest cabinet drawer stile and rail that a Cabinet Hardware Jig can center on is 12″. When additional clearance is required, the jig’s tiny and large end stops can even be switched around.
Is using the Cabinet Hardware Jig a professional requirement for cabinetry?
No, using this cabinet hardware jig to install cabinet drawer handles is simple and quick. Everything was created with you in mind. With our jig, you’ll save time and money whether you’re learning how to install drawer handles over the weekend or doing cabinet hardware installs on a daily basis.
How big handles can I install using the cabinet hardware jig?
12″ CC (300mm). Do you need handles for cabinet drawers that are bigger than these? Hardware up to 38″ can be installed using the Cabinet Hardware Jig TP-1935 (960mm). If your pull handles extend beyond this range, you can connect numerous jigs with thumbscrews to drill for any length you require.
How long is the warranty on your bushings?
We provide a lifetime warranty on bushings. If you ever require replacement bushings, we’ll be happy to send you a package without charge. Usually, it takes 3 to 5 business days for bushings to ship and arrive