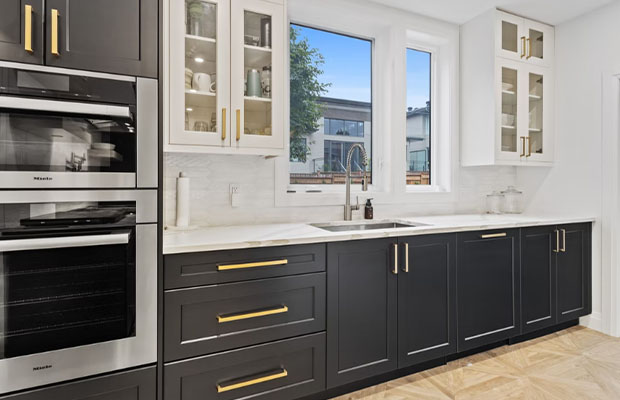
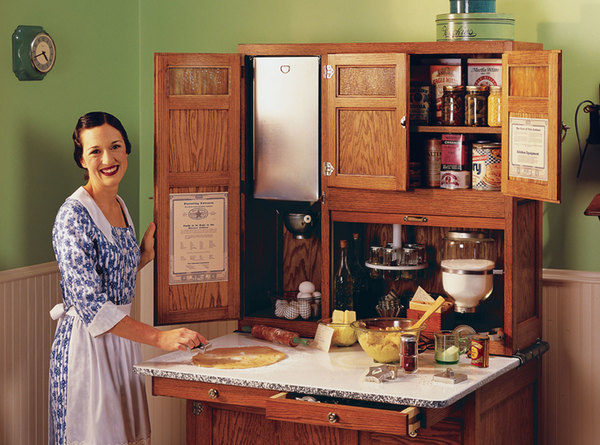
There are alternatives for modernizing this essential piece of kitchen storage if you have old laminate cabinets that you cannot afford to replace. How to paint laminate cabinets like a pro is shown here.
Laminate kitchen cabinets are common in older homes but they need to be updated. By painting laminate cabinets, replacing the doors, or completely replacing the cabinets, you may bring your kitchen into the current decade. Your decision will be based on your budget.
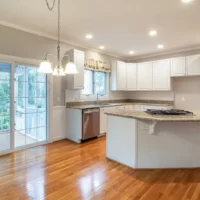
The most expensive alternative is to replace your cabinets, which account for about three-quarters of the cost of a new kitchen. The least expensive choice when updating cabinetry is stock cabinets. Refacing is an additional choice. Your current laminate cabinets can be made more stylish by adding a few glass doors. Check out reputable local businesses in your region to complete the task, or do it yourself to save money.
The most affordable choice is to paint laminate cabinets. Although it can be done, painting laminate is not the best surface for it. You’ll probably be happier with the results if you view the paint job as a temporary fix until you can invest in new cabinetry. To achieve the best finish, follow these procedures.
How to Paint Laminate Cabinets by Ourselves?
To prepare for painting laminate cabinets, you’ll need to make any necessary repairs, sand the surface, and clean the area. We’ll demonstrate how to prime and paint laminate cabinets once your doors are prepared.
What you need to prepare:
- Screwdriver or a drill
- Sandpaper of a fine grain
- Primer for tack cloth
- Roller brush
- Paintbrush
- Plastered paint
- Clean the cabinet surface
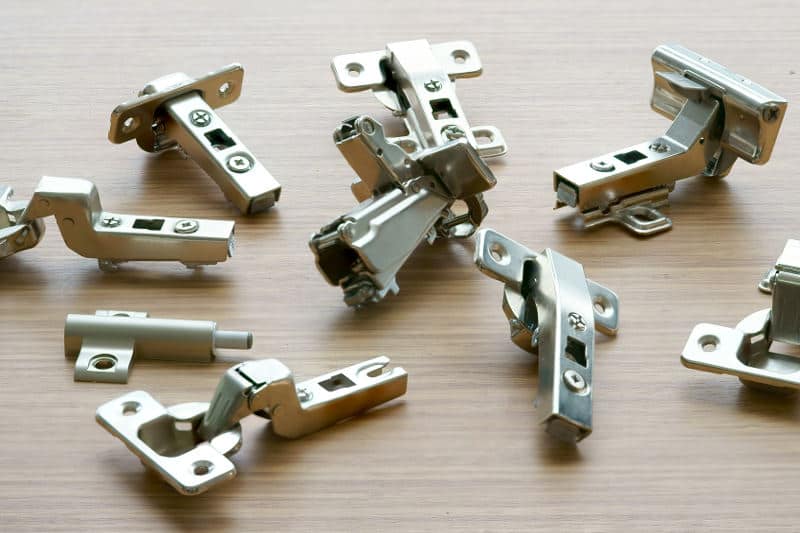
Preparation is the secret to attaining the greatest paint effects. Remove the laminate cabinet doors from the frames, then take off all of the hinges and hardware. You don’t want to paint over damage, so look for cracks or warps in the laminate and fix them. Finally, give the doors a gentle sanding and cleaning. To ensure that the doors are dust-free, use a tack cloth.
- Prime cabinets and doors
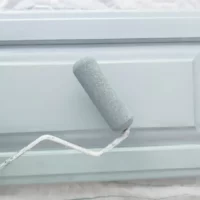
Use a top-notch primer. When cutting around cabinet edges or in tight spots, use a high-quality paintbrush to reduce stroke marks. Use a roller for the doors themselves and any other large surfaces to get a finish that is smooth and devoid of brush strokes.
- Re-sand the laminate surfaces
After the primer has completely dried, lightly sand everything one more. To smooth the surface, use fine-grit sandpaper, but take care not to sand it too much. Not all of the primer you just applied should be removed. A tack cloth can be used to remove the dust.
- Paint laminate cabinets
It’s finally time to add the paint. Select a paint that is made to be used on laminate surfaces. It has a durable, chip-resistant finish, dries to the touch in an hour, and is simple to clean with basic liquid soap. We advise a satin finish because it will cover up any tiny flaws.
You’re not a fan of your simple flat-front doors. Add wood or composite moldings to transform them into paneled cabinets. You may purchase moldings from your neighborhood hardware shop in a variety of thicknesses and styles, have them miter-cut to your requirements, or do it yourself with a miter box and handsaw. Following the directions above, paint the moldings after they have been trimmed to size. When they are dry, attach them to the door fronts with wood glue. Laminate cabinets can have a completely different appearance with the right preparation and some hard work. Remember that DIY painted finishes will be more prone to damage than cabinetry with a factory finish. You might eventually need to spend money replacing all of your cabinets. You can buy some time and give laminate cabinets an updated appearance by painting them.
You May Also Like: How Many Coats Of Primer On Cabinets?
Dos and Don’ts of Painting Laminate Cabinets
- Do sand the cabinets
You’ll need a gritty partner: sandpaper to rough up the smooth laminate in order to build a firm bond between the paint and your cabinet. (Consider upgrading to a motorized orbital sander for improved coverage of a big surface area. You’ll feel it in your upper body.) Completely dust the cabinet surfaces using 120-grit sandpaper, being careful not to rip through the paper-thin laminate surface. Then, remove any remaining dust with a handheld vacuum and a moist cloth.
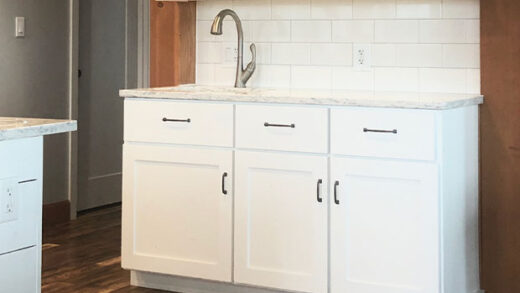
- Do remove cabinet hardware
For a clean, obstruction-free paint application, remove knobs, pulls, and other visible cabinet hardware before painting laminate cabinets. If the hinges are visible and detachable, you can remove the doors from the cabinets and paint each one separately on a workbench or sawhorse while masking the metal on the hinges with painter’s tape.
- Do submit your paint for evaluation
With paint in hand, you’re almost prepared to begin. But first, make sure your stock is appropriate for the task at hand. Before starting a full paint job, you should test the material’s bonding properties to prevent future paint flaking and the need to redo hours of labor. Apply your paint to a discreet, small part of the cabinet (say the back of the one you almost ever open), allow it to dry, and then check the bonding. If the coat has some bubbles, it is not sticking properly; speak with a paint salesperson at your hardware shop to choose a paint that is more suited for the job.
- Do reduce your fume exposure
Increase the ventilation in the area and keep youngsters and dogs out because of the strong fumes that the primer and paint create (and because of your proximity to them when painting laminate cabinets). Last but not least, put on a pair of chemical-resistant work gloves before you head out and redo your cabinets.
- Don’t paint over damaged laminate
Damage to the laminate, such as cracks, warps, or peeling, can prevent paint from adhering to the cabinet properly. Before painting, make sure the laminate is in good shape by fixing little laminate damage or refacing cabinets.
- Don’t leave the grit and dirt behind.
It may be alluring to inspect your cabinets and determine that any stains are insignificant enough to be covered up with paint, but if the color doesn’t stick to the laminate well, the laminate will show through and reveal your filthy little secret. Use trisodium phosphate to gently wash away any accumulated grime and grease before you begin painting laminate cabinets. After that, rinse with new water and properly dry the cabinets.
- Don’t leave brush strokes behind
Consider your options before using a brush to apply paint to the typically smooth surface of laminate cabinets. These well-liked painting instruments frequently leave a messy trail of brush strokes in their wake. For a finish free of streaks, choose a roller, sprayer, or paint pad.
Now you should have a clear idea of how to paint laminate cabinets. Start now, a wonderful cabinet is waiting for you to create!